Introduction
You have that one photo. Maybe it is a picture of your grandmother's garden, a beloved pet, or a breathtaking landscape from your last vacation. You look at it and think, "I would love to stitch that." But then reality hits. How do you actually turn a photograph into an embroidery pattern? It sounds complicated, expensive, and frankly, a little intimidating.
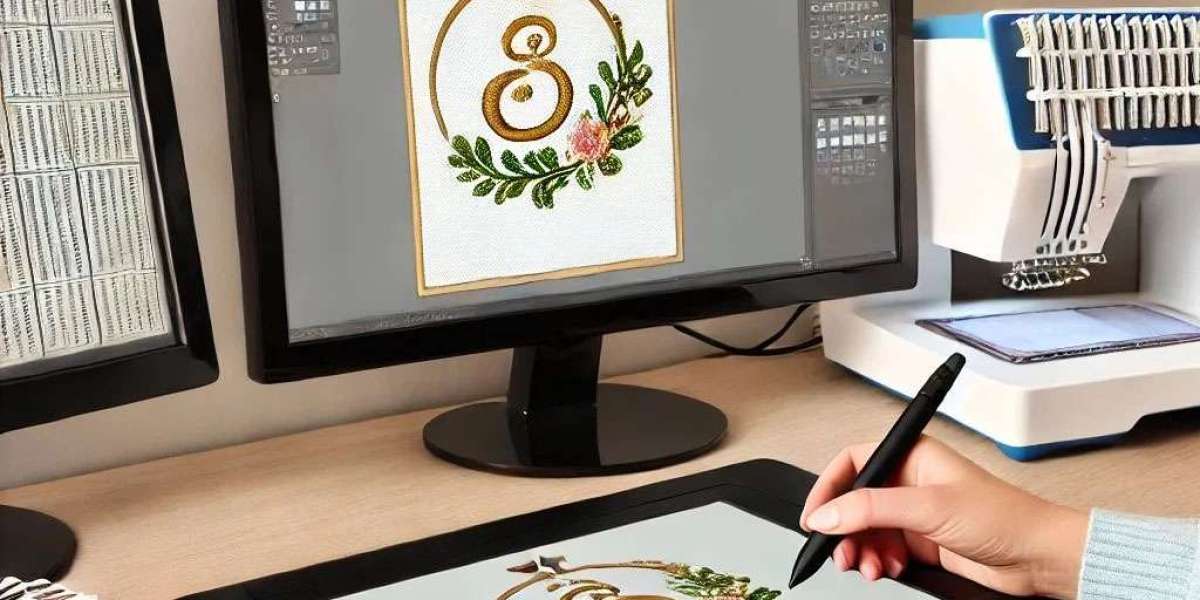
I am here to tell you that it does not have to be. Photo to Embroidery Design Conversion is more accessible than ever, and with the right tools and a little guidance, you can absolutely do it yourself. This process, often called photo digitizing, takes your digital image and translates it into a language your embroidery machine can understand . It involves breaking down the image into shapes, colors, and stitches, creating a step-by-step guide for the needle to follow. While it can get technical, the creative payoff is immense. Let me walk you through how it works, from choosing the right tools to stitching out your finished design.
Which free tools can you use?
The first question everyone asks is about cost. You do not need to invest thousands of dollars to get started. There are several great free tools to convert image to embroidery file free .
Ink/Stitch is a powerful and popular free option. It is an open-source plugin for Inkscape, a free vector graphics program . It gives you a lot of manual control over the digitizing process. You can add different stitch types, adjust density, and set underlay .
Another free option is SophieSew . It is a dedicated free digitizing program for Windows that allows you to trace images and assign stitches . However, it is older software and can be unstable, especially with complex images. Users often report crashes and a lack of modern features .
Bernina ArtLink 9 is also available for free and is good for basic editing and auto-digitizing, especially if you are new to embroidery software . You can use it to import an image and generate an embroidery design automatically, then save it in various formats like PES or DST. It is simpler to use than Ink/Stitch, but also offers less control.
If you are willing to spend a little money, software like Wilcom Hatch or DRAWings PRO XII provides more user-friendly interfaces and powerful features, including the ability to auto-digitize a photo into embroidery with just a few clicks .
Step-by-Step: Turning Your Photo into a Stitch File
Ready to try it yourself? Let us walk through the general process of converting a photo into an embroidery pattern. While the exact steps depend on the software you use, the core workflow remains the same .
Step 1: Choose and Prepare Your Photo
The success of your conversion starts with the image you choose. For the best results, select a photo with clear details and good contrast . Photos with lots of subtle shading or fine details may not translate well into stitches. It is often helpful to edit the image first. You can increase the contrast and simplify the colors to make it easier for the software to process .
Step 2: Import and Vectorize
The next step is bringing the photo into your embroidery software and converting it into vectors. Vectorization is the process of turning the pixels of your photo into smooth, scalable lines and shapes. Many software programs include an auto-digitize or trace feature for this. In DRAWings PRO XII, for example, you can open an image, and the software will analyze it, allowing you to set the accuracy of the trace and limit the number of colors used .
Step 3: Assign Stitch Types
Once you have the vector shapes, you need to assign specific stitch types to them . For outlines and thin details, you would use a running or satin stitch. For larger solid areas, you would apply a fill stitch. Adjust the stitch density and direction to get the look you want. This is where the art of digitizing comes in.
Step 4: Choose Thread Colors
After assigning stitches, the software will help you select thread colors that match your photo. Most programs have libraries of thread brands like Madeira or DMC . You can often change the number of colors to simplify the design or bring out more detail .
Step 5: Test Stitch Your Design
This is the most critical step. Never run a design on your final fabric without testing it first. Hoop a piece of scrap material, use the appropriate stabilizer, and stitch out your design . This will reveal any issues with density, puckering, or color choices. Make your adjustments in the software based on this test, then test again until you are happy .
Conclusion
Converting a photo to an embroidery pattern is a fantastic way to personalize your projects and stitch your favorite memories. It combines the art of design with the technical precision of embroidery. While it can seem daunting at first, starting with a good photo and the right software makes all the difference. Whether you choose a free tool like Ink/Stitch or a more user-friendly paid program, the process is the same: prepare your image, convert it to vectors, assign stitches, choose colors, and always, always test stitch. With a little patience and practice, you will be turning your treasured photos into beautiful, heirloom-quality embroidered pieces.